
Assets Overview
In Brevity, an asset is a reusable piece of content that can be cloned, edited, shared, and organized in folders. These assets are the components that go into making a Brevity role play, and they include:
- Contexts
- Personas
- Topics
One way to manage content within Brevity is to think about each role play as a collection of these assets, where each asset can be independently managed. As a result, you can create new assets, or mix and match existing assets, to create new role plays. For example, when attempting to create a new course, you clone and edit a context within that course, reuse existing personas from other courses, and create new topics. The resulting role play provides Brevity users with a fresh and relevant challenge, but you have saved time in creating the course by using existing assets that have proven to be effective.
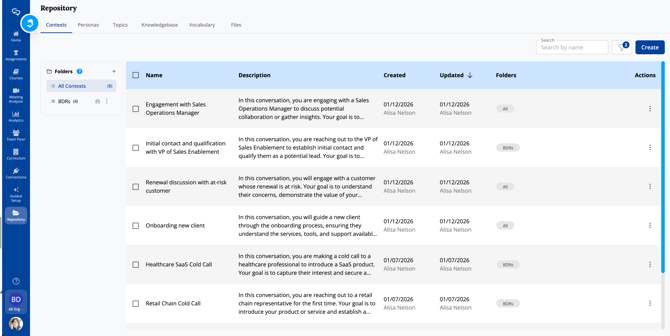
Repository Overview
Assets can be created and managed from various parts of Brevity. For example, you can manage contexts, personas, and topics as part of the course configuration workflow. But all assets created in Brevity also reside in the Repository, which offers a centralized place to manage, edit, share, and reuse the various assets that exist in your Brevity instance.
Managing Assets
Note that the Repository can be managed at multiple levels, so before making changes, ensure that you have selected the correct team in the bottom-left corner of the Brevity window.
The steps to create, edit, share, clone, and manage assets are the same regardless of whether you are working with Contexts, Personas, or Topics.
To manage repository assets:
- Use the Search, Created, and Created By fields at the top of the asset list to show assets based on your filter settings.
- Click Create to create a new asset. For instructions to create each specific asset, see:
- Click the three-dots menu at the far right of an asset row, then click Edit to edit the existing asset.
- Click Share to share the asset to another team.
- Click Clone to clone the asset.
- Click Delete to delete the asset.
Organizing Assets with Folders
You can create folders to organize assets, making them easier to interact with and manage. You could, for example, create folders based on team, region, conversation purpose, and more.
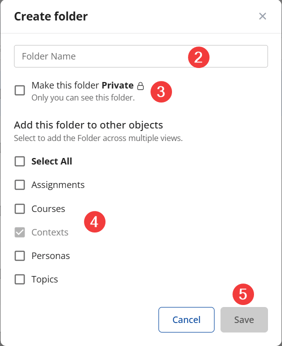
To create a folder:
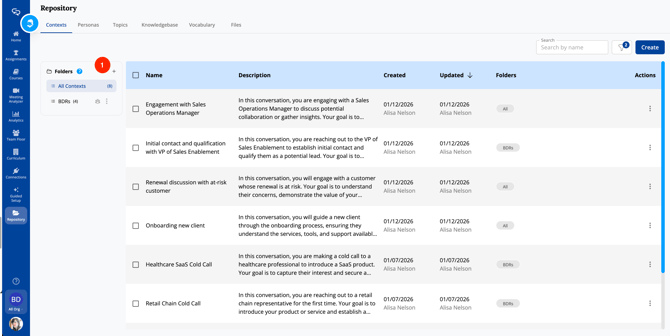
- Click the plus (+) icon in the Folders column. The Create Folder pop-up window appears.
- Enter a name for the folder.
- Check the Make this folder Private box to make the folder private. Private folders can be seen only by you.
- To add the folder to other views, select each appropriate check box. You can use this feature to, for example, add the same folder to the Assignments tab.
- Click Save.
You can also add multiple assets to a folder at once:
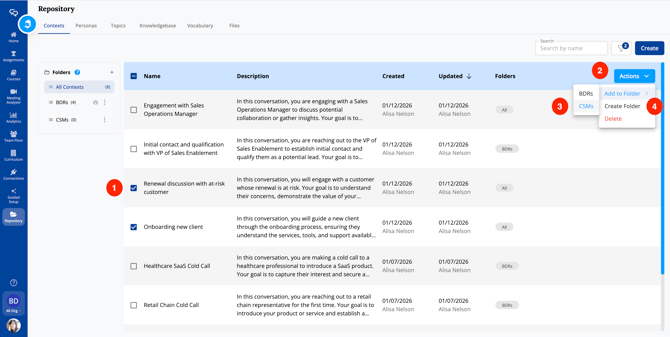
- Select the check box next to each asset.
- Click Bulk Actions.
- To add the assets to an existing folder, click Add to Folder, then select the appropriate folder.
- To add the assets to a new folder, click Create Folder and follow the steps above.
Sharing a folder with other teams
Folders can be shared with other teams in your org. When you add a course to a shared folder, it is automatically shared with any teams that have access to that folder — making it easy to distribute content without sharing each course individually.
To share a folder:
- Click the three-dots menu for the folder you want to share.
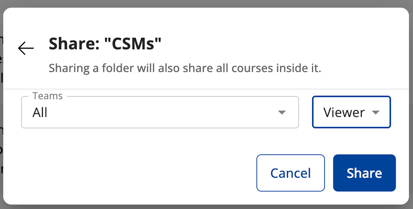
- Click Share. The Share window appears.
- Click the Search Teams drop-down menu and select the teams that should have access.
- Select whether each team has Viewer or Editor privileges.
- When set to Viewer, admins in the team cannot edit courses in the folder, although any edits made by those with Editor privileges will be reflected in the shared version.
- When set to Editor, admins in the team can edit courses in the folder, and those edits will be reflected in all shared versions.
- Click Share.

Any courses you add to the folder after sharing will automatically become available to the teams with access.